When I first started the winter break, I thought I should follow my interests by making a game. I was considering making a basic RPG or dungeon crawler. The issue with this is that this would likely require an artist to create a fair amount of sprite art, making it somewhat impractical. However, I received the suggestion that I look into 3D modelling programs, such as Autodesk Maya.
When I tried Maya, I was sorely disappointed. It seems to be geared mainly toward creating models from scratch. I found the interface confusing, and overly complicated. I had to watch the included instructional videos several times to remember even basic controls such as selecting items and applying basic transformations. I also had trouble locating preassembled models. I tried following a set of instructions to create a basic object, and it turned out completely differently, no matter how many times I tried it. These instructions were meant to create a basic image of a virus. No matter how many times I tried it, I got what looked like a collection of misshapen eggs floating around a point in space. Soon after, I decided to try other systems instead. What I found was DAZ 3D Studio. I'll tell more about that later
I was unable to find a free or trial version of Poser.
Later, I tried Blender. To be honest, I didn't really give it a fair chance. I found its interface overwhelming, and it somewhat reminded me of Maya, so I was scared off.
I actually found DAZ 3D Studio while searching for Bryce. The download page didn't seem to be working, but their 3D Studio was advertized on the same site. So I downloaded DAZ 3D Studio 4.7 Pro, and was pleasantly surprised by the learning curve. It includes interactive tutorials, with more available for download through the company store. The store also features a variety of products including models, poses, morphs (shaping functions), materials (textures and reactions to light), and a variety of other items, alone or in bundles, from DAZ 3D or third parties, free or with cost. In addition, user-created content is available from a variety of forums. In particular, I found this forum post most helpful.
So I set to work completing the tutorials. First, the Barefoot Dancer lesson introduces the user to the "Hollywood Boulevard" interface. While many interface types are included with DAZ 3D Studio, and users may create and save custom interfaces, "Hollywood Boulevard" is recommended for new users, as it uses terms commonly used in film to organize the features available.
This interface is divided into four tabs.
Common to all tabs are the Viewport in the centre pane and a tabbed right hand pane.
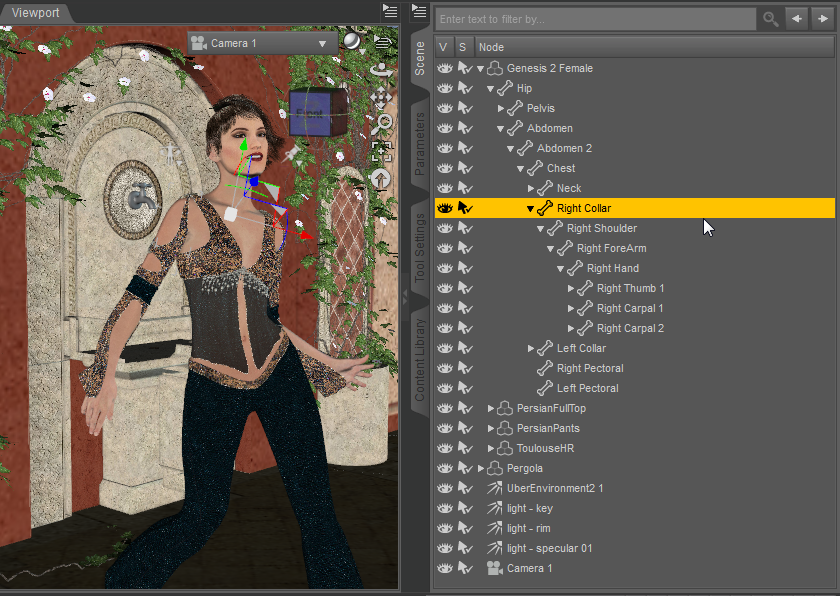
The Scene tab on the right side pane lists elements found in the current scene in a hierarchical format, and allows selection of one or more items.
The Viewport allows the user to view the current state of the scene from a variety of different perspectives. These include:
The viewport also allows the user to view the scene in a variety of ways including:
View controls on the right side allow for manual view control depending on the currently selected object. The rotation cube allows for free rotation around the object. The Orbit control allows for restricted rotation, depending on which mouse button is used. The Pan control allows the view to move along the current view plane. The Zoom control allows the view to move closer or further away from an object, as well as adjusting focal length depending on the mouse button pressed. The Frame control adjusts zoom and pan to centre the selected object. Finally, the Reset control resets the view to its default position and orientation. If a camera is selected, these controls will alter its properties.
In addition, a control allowing for manual use of standard transforms appears when an object is selected.
|
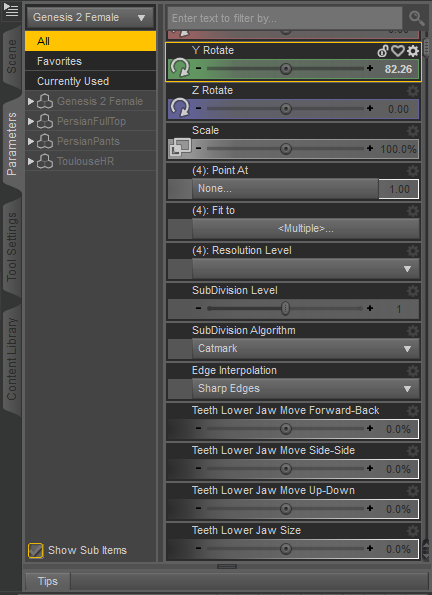
Also found in the right side pane, the Parameters tab contains a variety of controls, mainly sliders, which modify many properties of the selected object in the scene. These vary from the basic transforms to aspects specific to the object type, which are often called morphs. Morphs can come included with an object, or can be added later. Pose presets can be used to modify several of these at once Using parameters to fine-tune the scene is a concept brought up in the second tutorial, titled Dagger Dreams. This tutorial also introduced using the store to purchase props and other content to add to the scene. When I discovered this, I tried downloading any free content I could find, both from the store, and from links found in the previously mentioned forum post. While the first site I tried featured mainly what was described as "artistic nudity", I managed to find one site from which I could access a variety of user-created content. |
|
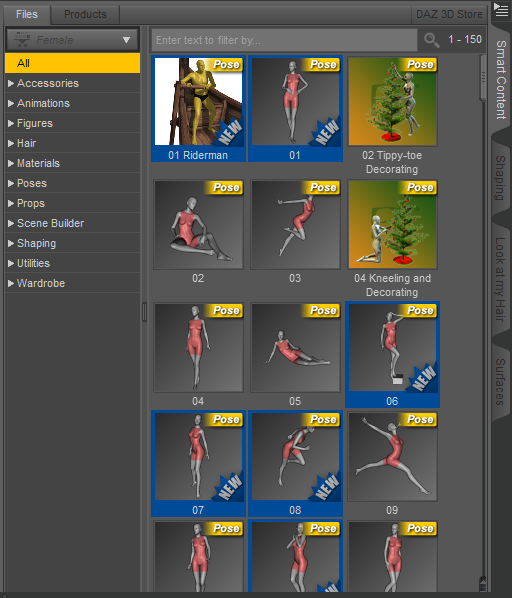
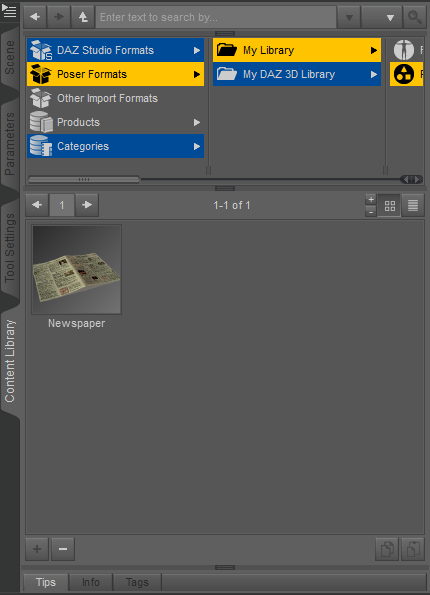
However, I quickly discovered that not all of the items appeared in the left hand content pane under "Actors, Wardrobe & Props". This pane, known as the Smart Content pane displays only content which can be applied to the currently selected object. In order to see other items, one must deselect all items by clicking a blank spot in the Scene pane. Unfortunately, much of the content is tied specifically to other content, and much of the user-created content does not contain the necessary metadata to even appear in this pane. This content must be accessed through the content library in the right hand pane. This gives unrestricted access to all content available on the user's hard drive. It also grants access to content in the compatible Poser file formats. A user should be careful, though, as there is no guarantee that any item is compatible with another. Nor is there any guarantee of the content even functioning properly. I even encountered several submissions from one user in which they had failed to include the necessary texture bitmaps. The Pose & Animate tab is similar, only its Smart Content pane is limited to poses and animation blocks for the AniMate plug-in. It also contains the Timeline pane, which is collapsed by default. I will discuss this in greater detail later on. I added the PowerPose and Puppeteer plug-ins as left side tabs here, but I found them to be too imprecise to be of much use compared to the built in presets and parameters. |
|
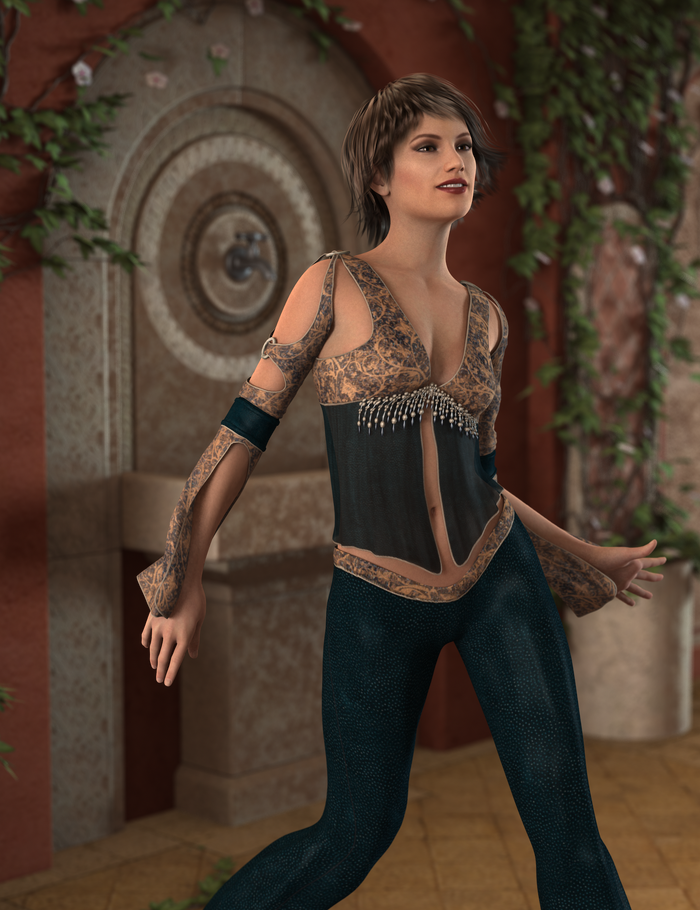
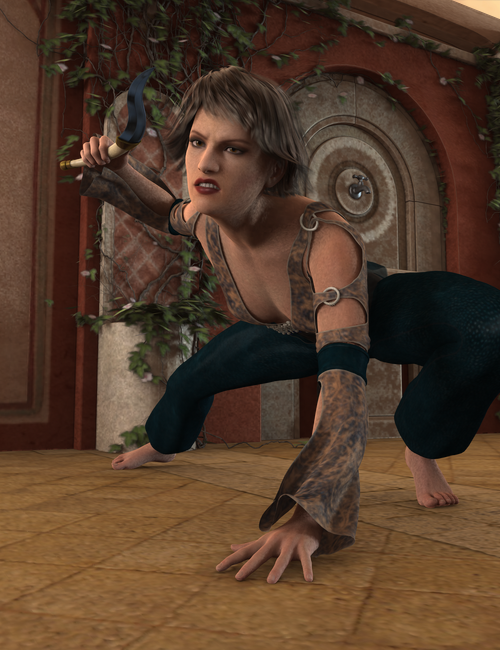
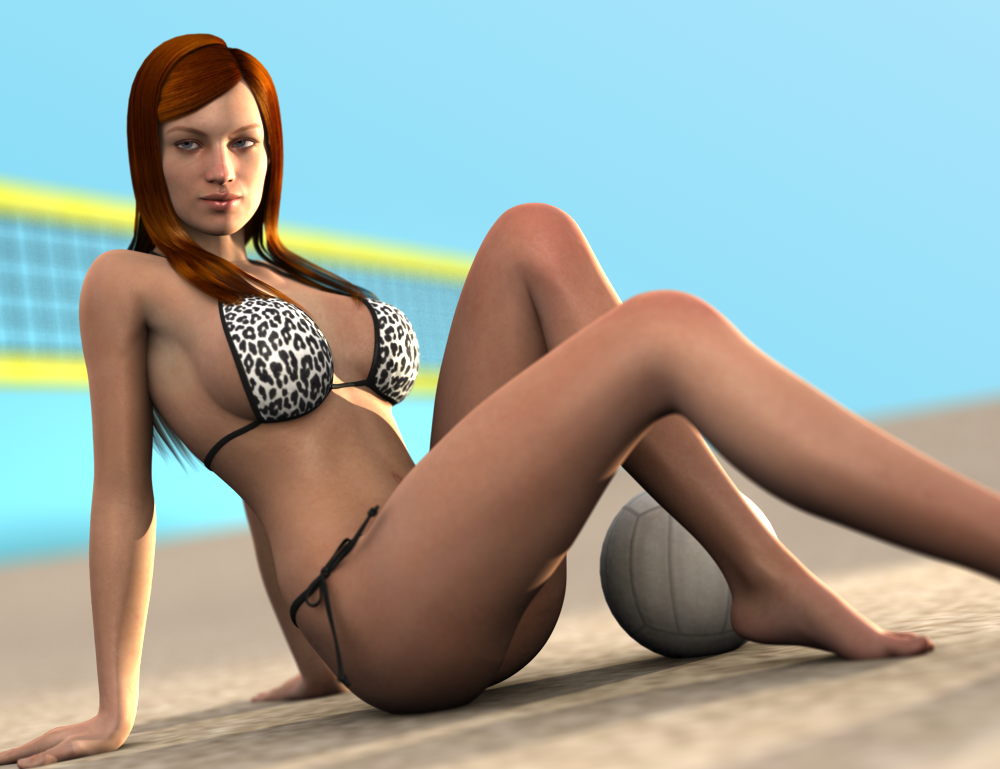
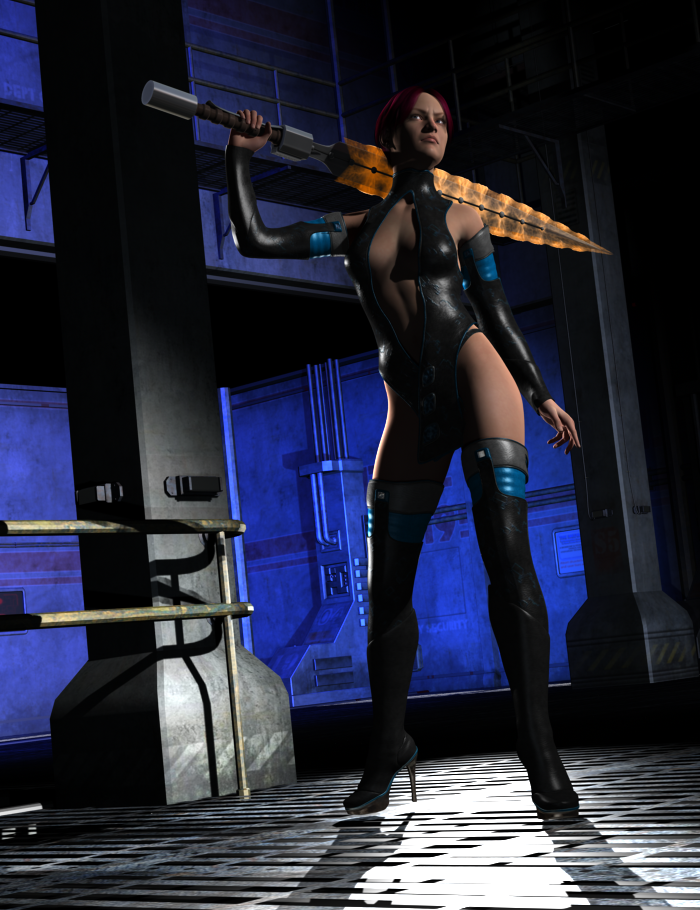
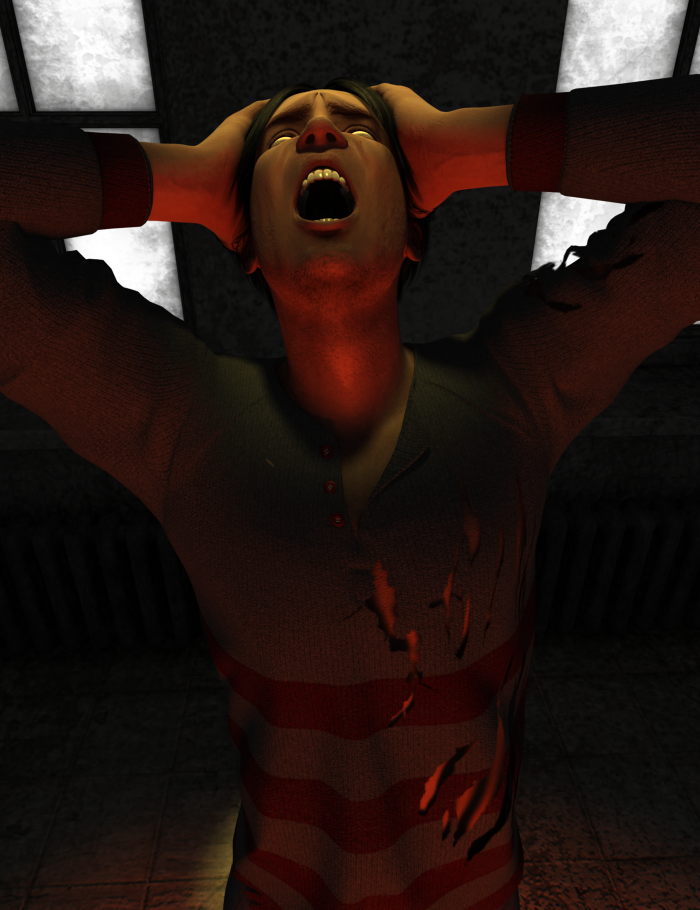
Similarly, the Lights & Cameras tab contains another two tabs. Similar in layout to the Smart Content panes, these contain presets for lights and cameras. They also allow you to edit them once they have been created. The Day at the Beach and Sci-Fi Warrior tutorials taught me how to place a custom lighting object, and from the Inside the Asylum lesson, I learned about creating custom camera objects. Lights and cameras are objects in DAZ 3D Studio. As such, the basic transformations can be applied to them as well. In addition, they have customizable parameters. For instance, the colour of a light can be altered, as can the focal width and depth of field of a camera.
Likewise, the Render tab contains a preset tab, as well as an editor tab in the left side pane. I found in most cases, increasing the settings here added render time more than noticeable detail. A scene may be rendered as a still image using the current frame, a series of images, or a movie. Upon rendering a still image, a preview window appears, filling in each "bucket" as it is completed. When rendering a movie, it will prompt for compression at the end. I'm not sure I really understood this prompt, since I selected Windows compression, but left the quality slider at 100.
The Day at the Beach tutorial also taught how to use shaping presets. However, I never used these for anything else. The Inside the Asylum tutorial also taught me about material presets for objects. These can be found in the Smart Content and Content Library panes. These allow the alteration of colour, texture, transparency, shape, and other aspects of an existing item. The Sci-Fi Warrior tutorial also covered how to change the colour of certain items.
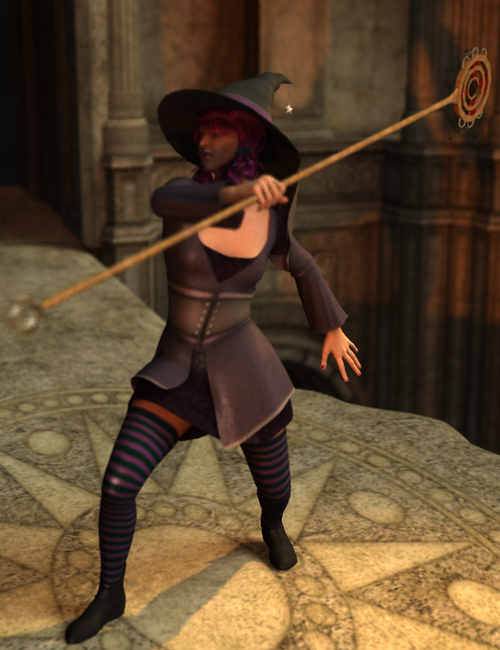
At this point, I felt it was prudent to attempt to create my own scenes without the aid of tutorials. I opted to use the Genesis base female character model, rather than the Genesis 2 model used in the tutorials. Although Genesis 2 features more native morphs and options, there exists more user-created content for the Genesis model. For clothing, I used the Bewitching clothing set (free during their holiday sale). This includes a dress, a corset (with overskirt which is removable with a material preset), leggings, shoes (with a pose preset to make the heels sit properly), and a hat with attached veil. For hair, I chose the Sally Mae hair included in the Genesis Starter Essentials bundle available for download with DAZ 3D Studio. I then modified the colour of the hair and ribbons using the included material presets. In addition, I equipped a magic wand prop from the Genesis Starter Essentials pack in the right hand. Also from the Genesis Starter Essentials, I used the Alchemy Chasm environment, adding the Slaying the Dragon backdrop, from the tutorial of the same name, being the only one I did not complete. I also added a lighting preset from the ready built scene titled Fiery Genesis. This simulates firelight from many directions, and lends a certain ambiance. I added a camera object with depth of field, lending objects outside a certain distance range a fuzzy, out of focus quality. I did try setting up other scenes, but the Bewitched one was my favourite. |
|
By this point, I had decided I would like to make an animation in DAZ 3D Studio. I have often considered myself to have a good eye, and enjoy photography and directing, so I set to work finding out how animation works in DAZ 3D Studio. This was actually difficult, since there is no tutorial on the subject and the instructional video, which is done by a third party, was not exceptionally helpful. In the video, the instructor was using a different interface design, which actually differed from ones he used in other videos. He also used the prebuilt animation blocks. When I attempted to use these, it failed to work, and gave me an error message suggesting I check the log file. Upon checking the log file, I found that the AniMate plug-in was not functioning. I Googled the issue, and found that others had had the same problem. Apparently, DAZ 3D Studio is supposed to come with a 30 day free trial of AniMate 2, and then switch over to the AniMate Lite version. That left me with one recourse: to animate using only posing and the Timeline pane.

To insert a key frame, select a frame on the timeline, and make any change to the scene. One can also add a keyframe manually by clicking the Create Keys button on the timeline controls. DAZ 3D Studio will then "tween" by changing the intermediate frames with linear changes to the values entered.
I started by creating a simplified version of the Day at the Beach scene. I then attempted to make the model go from a standing pose to a sitting pose using pre-existing presets, accepting the default of 30 frames per second. This proved more complicated than simply inserting the two key frames. The model sort of floated into position, her feet dragging through the floor. I managed to avoid clipping by applying an upward translation and leg movements in the intermediate frames, but the odd floating motion remained. I determined that in my final animation, I would need to use poses which were less drastically different.
By this point, I had the idea to have one or more character show off combat moves using the Fantasy Warrior poses included with the Slaying the Dragon tutorial. It would have been nice to stage a battle between two or more characters, but I wasn't sure how well I could get multiple figures to interact, and time was relatively low. I opted instead to adapt the previous "Bewitched" custom scene, and have that character show off her combat moves for an audience. I opted to make minor changes to the character, though. I adjusted the "Basic Child" slider on the Genesis model just a little bit to provide a youthful look, and used a user-created material preset to add a more realistic skin texture. I found this material, called "Rose", on ShareCG. Unfortunately, it is no longer listed on the site, and I don't feel like it added much to the final product due to the texture resolution used. I also turned off depth of field on the camera object.
I started by setting a different pose preset every 1 to 2 seconds, depending on the difference between them. I also inserted intermediate keyframes where in order to make more natural-looking movements. I learned a few things during the course of this animation process. Firstly, I had to apply the foot preset and translating the model upward after applying a pose preset in order to make sure the shoe heels are do not clip. Secondly, to display a pose for any length of time, one must manually insert a second keyframe with no change. As a result of my ignorance, this does not happen for much of the animation until the end. I also learned that parameters could be locked, so no additional changes can be made to this. This I also didn't realize until later, so there is some extra unnecessary movement earlier on in the animation. When making adjustments for the shoe pose, I realized I had neglected to give the character underwear, so I added briefs from the Genesis Starter Essentials pack, even though this is not seen in the animation. I also made several camera movements early on, to show the dynamic nature of the camera object, but realized I had overdone it, and reduced the movements later on in the animation.
I also created custom poses near the end of the animation. These taught me a few more lessons. Firstly, when manually changing a parameter, DAZ 3D Studio will tween it to that position from the last point it was changed, which in some cases is the beginning of the animation, creating anomalous movements. This can be fixed by returning the parameter to its previous state in the previous keyframe. I also learned that there is no simple way to move a keyframe. To adjust timing, I had to save the custom pose as a preset, and remove the existing keyframe. In doing so, the tweening was not removed, and for some reason, stacked on top of the new tweening. I tried to repair it, but ended up with a strange back-and-forth motion, so I left it as it was. Fortunately, it ended up looking good in the final product, with the character bowing, kissing her hand, then blowing a kiss. I chose to leave 40 static frames at the end, so I could add credits. Unfortunately, this would add some render time.
Even though rendering involved little effort on my part, it became a bit of a chore. First, upon rendering the first frame, the 3Delight renderer spat back this cryptic error message:
3Delight message #43 (Severity 1): R2001: object 'shapematerial_6_Eyelash_1376_54e' (displacement 'dzdisplace', surface 'dzplastic') exceeded its displacement bound by 0%
I caught this, and rendered a still image to test it, and found there was no noticeable issue in the image produced. The actual rendering took 25 hours, so I found myself without use of my computer for a full day. Fortunately, it turned out to be a fairly eventful day. The error message appeared for each frame rendered, but I paid it no mind. I was mostly satisfied with the result, but the firelight effect didn't do much to illuminate the facial features of the character. There are also a few frames where the character's texture seems to flicker. In retrospect, I assume this and the error message were probably caused by the custom texture material. I would avoid using such a thing in the future. I believe both of these things added render time.
I used Windows Live Movie Maker to add music, a title, and a credit subtitle. For music, I used the Epic theme from the cinematic category at BenSound, a royalty-free music site.
The final product can be found here. Enjoy!