3P98 ANIMATION
PROJECT
Slam Dunk
Competition
Christopher
Pike
Amos Yu
1 Table of Contents
2 Our Animation
3 Outline
When we decided to start
planning for our animation project, we were brainstorming ideas of what to do,
what type of theme would wanted for this project. Since both of us love playing basketball, it
didn’t take long for us to decide to do an animation that had a basketball
theme to it. Since we were informed that
Brock had various programs at our disposal such as Poser, we decided to use it
to model our characters to do various slam dunks.
4 Process
When we first started
working on this project, we weren’t quite sure of the complexity of the actual
work. Our initial proposal was to create
a basketball shoe commercial with basketball players in the background doing
various dunks. As we spent more and more
time focusing our efforts on modeling the actual dunks, we knew that we would
surely run out of time, and not finish the commercial, so we modified our
project to be just the slam dunk contest.
4.1 Models
Our first course of action
was to create some of the props needed to make the animation realistic, this
included create the basketball net, and creating a basketball
4.1.1 Basketball Net
The first thing that was
constructed was the basketball net. We
made use of 3D studio Max to create this model
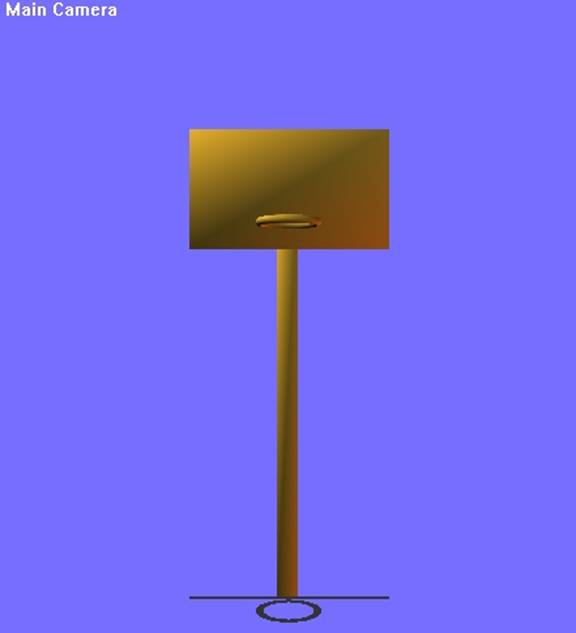
This model is comprised of
3 main objects, we have a rectangle for the post,
another rectangle for the backboard, and a torus for
the hoop.
4.1.2 Basketball
The next object we had to
create was a basketball, instead of just using a sphere we, wanted to make it
more realistic, so we went on the web to search for 3D studio model of
basketball, and we came across a script that made it, this script can be found
here: http://www.tdp.nu/cgi-bin/plugread_r4.pl?Type=Objects&sort_a=Author
Created by Kim Kyung Sin
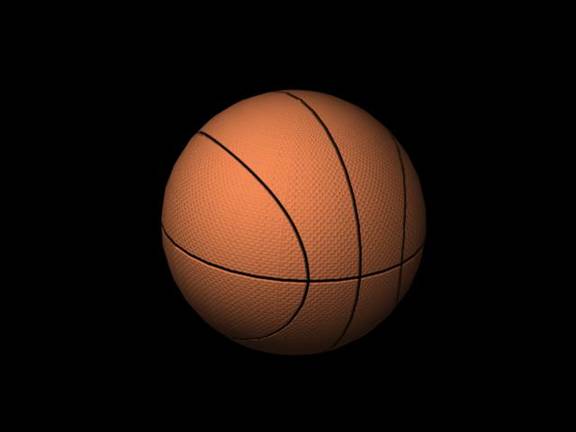
Unfortunately when the
model is imported into poser, it just looks like an orange ball and the lines
cannot be seen, we are unsure why this is.
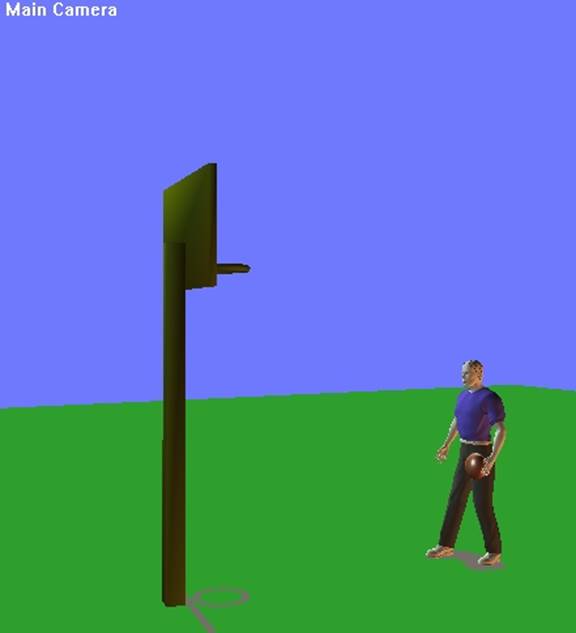
4.2 Dunks
4.2.1 Vince Carter Dunk
The first thing done for
this dunk was to create the environment, so firstly I set the background color
to blue to look like the sky, I then changed the ground color to green, and
finally I changed the shadow color to a darker color. After these superficial changes were done, I
imported the basketball, as well as the basketball net.
Now that the environment
was created I had to start making the animation of the actual dunk, so I
started making key frames, here are some examples:
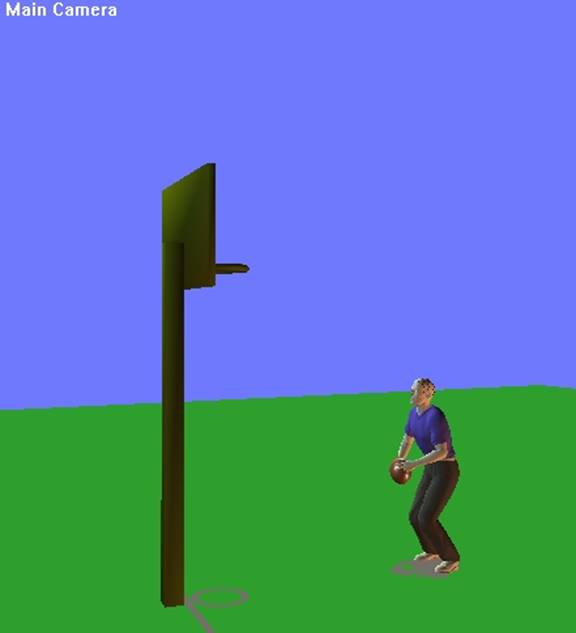
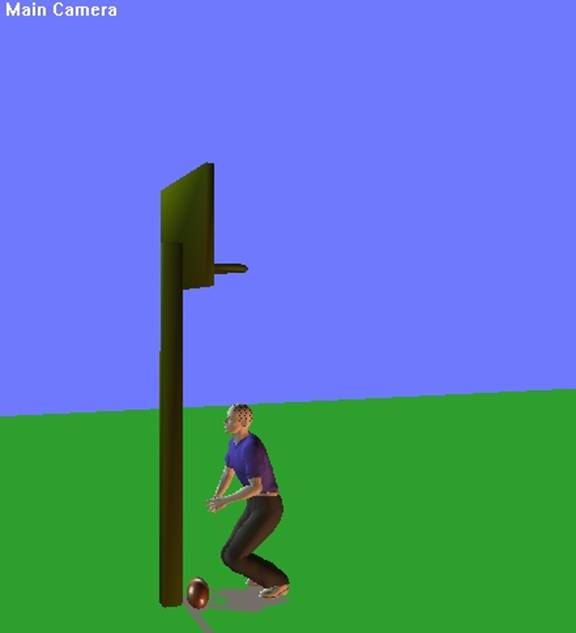
This is of the model
starting its run
This is one where the
model is ready to jump
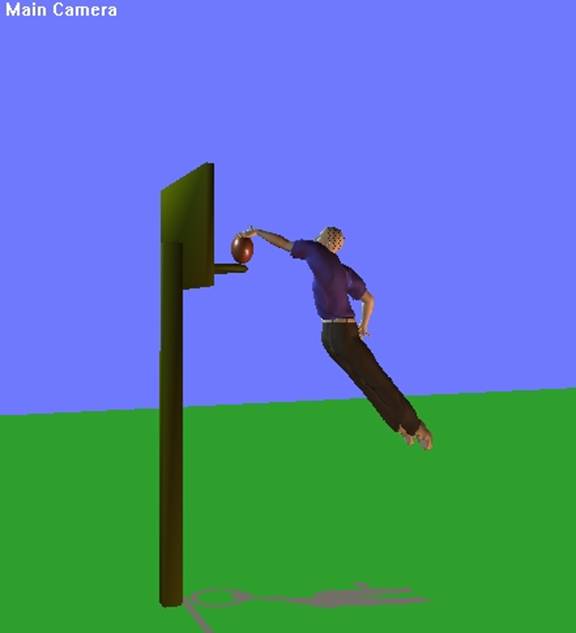
This is where the model is
just about to dunk the ball
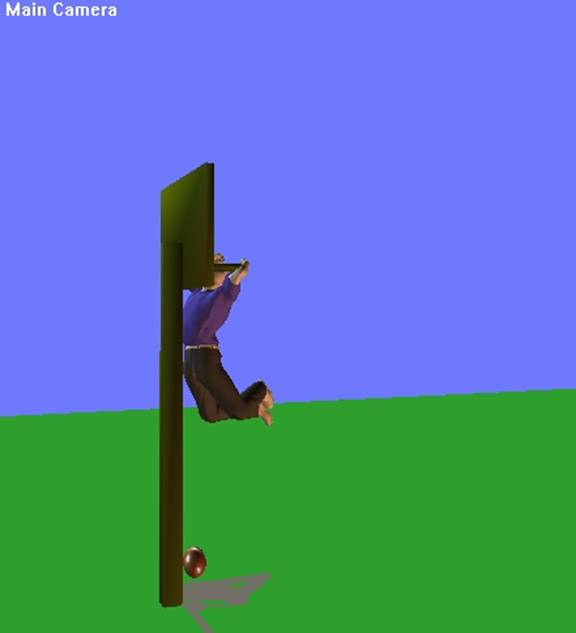
The Hang
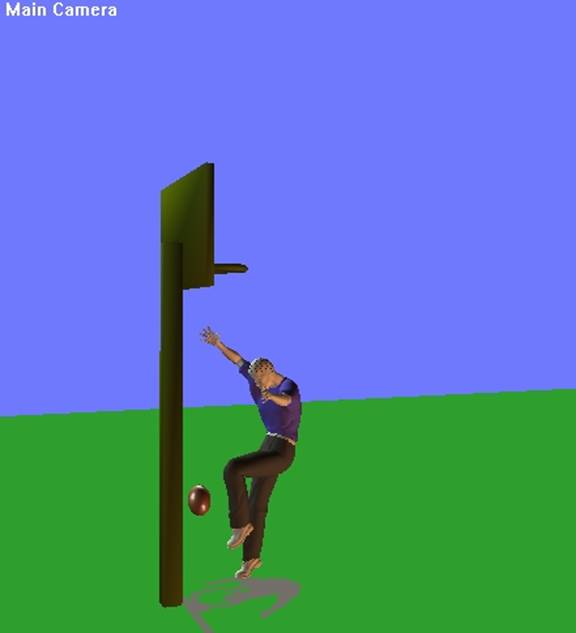
The Fall
The Land
Now obviously there were
many more key frames needed to make the animation look realistic, but these
were the few main key frames required in the dunk.
4.2.2 Tracy McGrady Dunk
The Tracy McGrady Dunk is
a replica of a dunk preformed in a video I downloaded. I found it easier to move my model based on
the actions of an actual human rather than trying to produce my own kinematics.
The environment was first
setup by giving the ground some texture and adding color to the sky. The goal was then imported from Bryce and
placed into the scene. This set the
stage for how far my model had to be from the net. It gave a quantitative feel for how many
steps needed to be taken and how far out the model would have to jump.
The next step was to start
my model’s animation. The toss was the
first action performed. This action was
done totally free-hand since I could not find an accurate model to meet my
specification. It was important to me
that the model looked as realistic as possible so after every key action I
would export the movie to an avi file and play it back.
After the jump had been
preformed, the next step was to begin the approach. For this I used the walk designer giving my
model a long stride with high knees making the approach look more like a skip
then a run or walk. Once I was satisfied
with how it looked I mapped it onto a walk path so my model would be lined up
with the basket for his takeoff.
Once my model was all
lined up it was time for the take-off.
This was simply a matter of first bending his knees and then lifting his
entire body into the air.
The model’s flight was the
hardest part of the animation. There
were several factors that played an important role in the realism of how my
model looked in the air. Numerous times
I had to re-adjust for distance to the hoop, amount of torso twist at each
keyframe, height to catch the ball and height to “jackknife” the ball. There was one sitting pose that I found very
useful in the jackknife part that only required a little amount of tweaking.
The actual dunk was fairly
straightforward. The harder part came when
I actually had to put the ball through the hoop.
The landing was also
fairly straightforward. I used one of
the jump poses to ensure it the model had a cushion-like landing with his knees
bent.
The pose at the end was
done to add character to my model. I
thought it allowed for an entertainment value to compliment his successfully
completed dunk.
Once the model’s actions
were complete it was time to add the ball.
The tweening Poser offers make it very easy to simulate motion. I only had to keyframe the peaks and dips of
the ball bouncing. The challenging part
was fitting the hands around the ball and making the ball fit through the
hoop. Again it was very important that
the gravitational pull of the ball appeared life-like and so I exported the file
to avi to ensure it looked realistic.
The fun part of the
animation was playing around with the cameras.
I tried to make it look as if it was being recorded by an actual
network. To do so I used camera angles
such as the backboard cam and on-floor cam.
I also tried to zoom into the model’s face as he was doing his victory
pose to show off his emotion.
5 Applications Used
5.1 Poser 5
Poser was the main program
used to crate the models and animate the actual dunk
5.2 3D Studio Max 5
3D Studio Max was used to create the props required for the animation such as the basketball, and basketball net.
5.3 Goldwave
Goldwave was the audio editing tool. I felt that the audio gave life to the dunk and really made it more believable. Numerous sound effects were pulled from footage I found on the net. It was then cut up and synced to actions our model’s were performing. The sound of the ball going through the net had to be timed perfectly to give the dunk a sense of power. In the actual animation these few keyframes were sped up to enforce this concept. The commentary and crowd noises were a key element in making the animation appear as if it was actually being recorded.
5.4 Ulead Video Studio 6
Ulead was the video
editing tool that brought our animation together. Since both our models were created separately
there had to be some way to merge them.
The background track does
an excellent job of combing our two dunkers and sets the mood for the start of
our movie.
The beginning credits are
shown as clean white characters on a dull background bringing a sense of
simplicity that will build up to the action following. The zoomed in title, timed to the start of
the baseline in our song is the trigger to this subsequent action.
The 3-d transition between
scenes represents a change in action and simulates the act of a replay used in
many sporting events. The slow motion
replay also serves another purpose of allowing the animation to be observed
more clearly from a closer angle at a slower rate.